🐵 Contest #297 Flame Monkey inspired bag 🐵
🙉🐒🦧
I hope you are well friends. This week @Splinterlands is offering the opportunity to participate in contest #297.
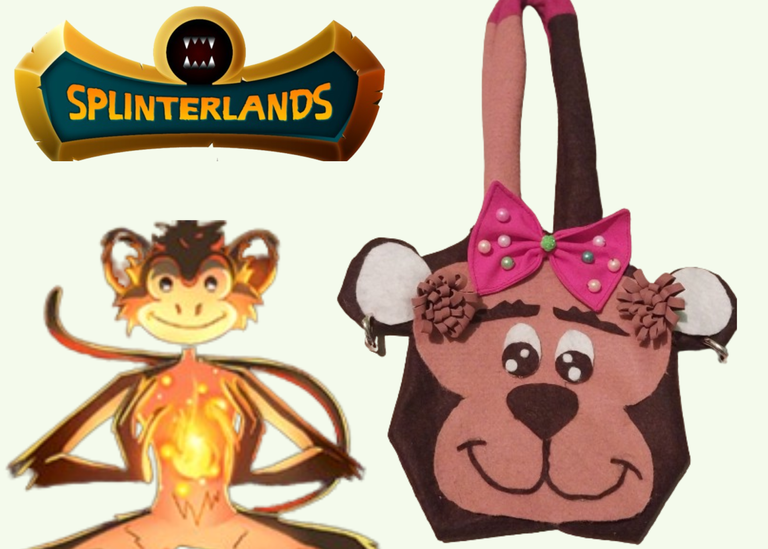
In this opportunity I have made a bag for my niece inspired by one of the Splinterlands cards. Our beloved Flame Monkey.
Materials
🙉 - Brown felt
🙉- Light brown felt, skin color or orange.
🙉- Brown felt
🙉- Silicon Gun
🙉- Sewing thread
🙉- Foami
Optional
🙉- Fuchsia Fabric
🙉- Beads
🙉- rings
Step by Step
1
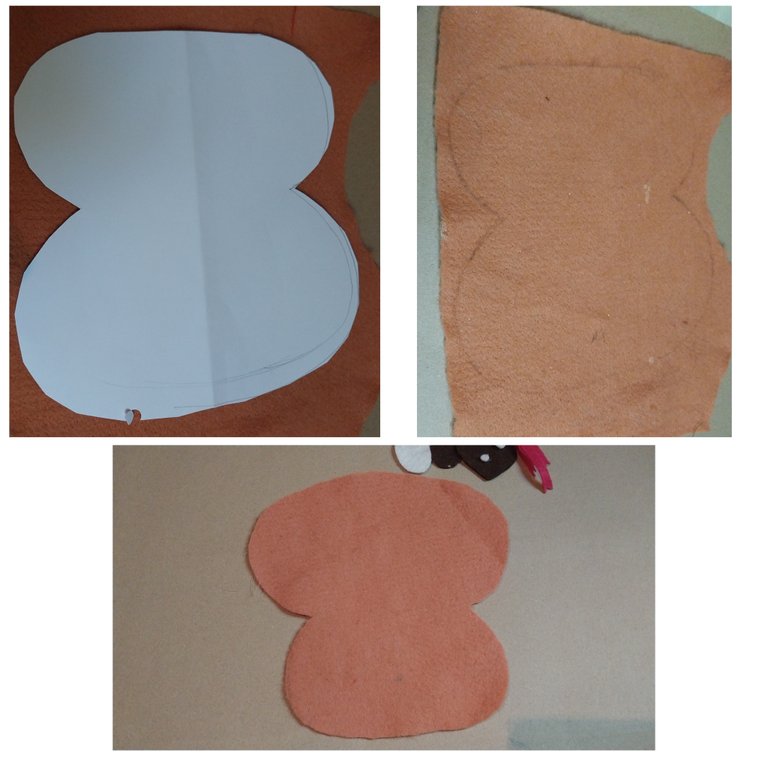
We start by making the shape of the face of our monkey. I have first made a mold on cardboard and then marked it on the fabric and cut it out with the scissors.
2

Also on a cardboard we draw the nose and ears.
Then we transfer these molds to the brown felt and cut them out.
To make the ears we need to make 4 faces and we also need two rounds a little smaller than the white ear.
3
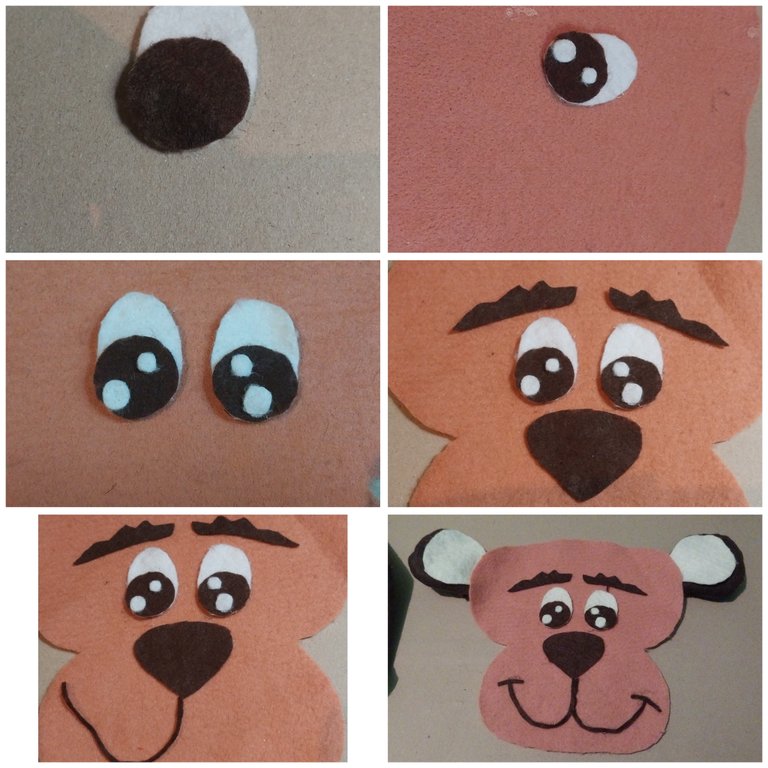
To make the eyes we mark and cut out an oval in white felt, a circle in brown felt and two smaller circles. And in this way we form the eyes.
Then we glue two eyebrows in brown felt and the nose, we also make the shape of the mouth using filter strips and glue all this with silicon.
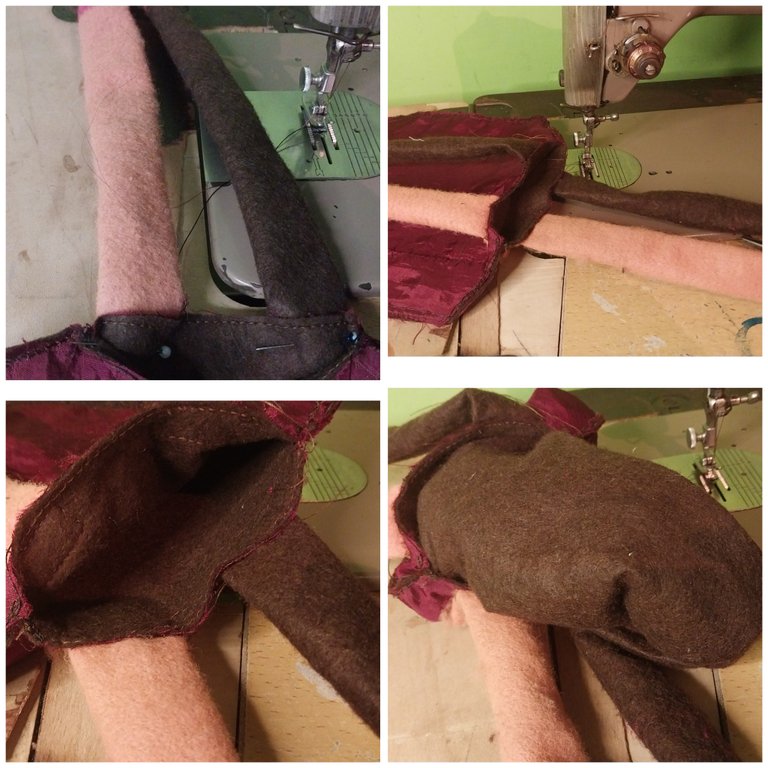
4
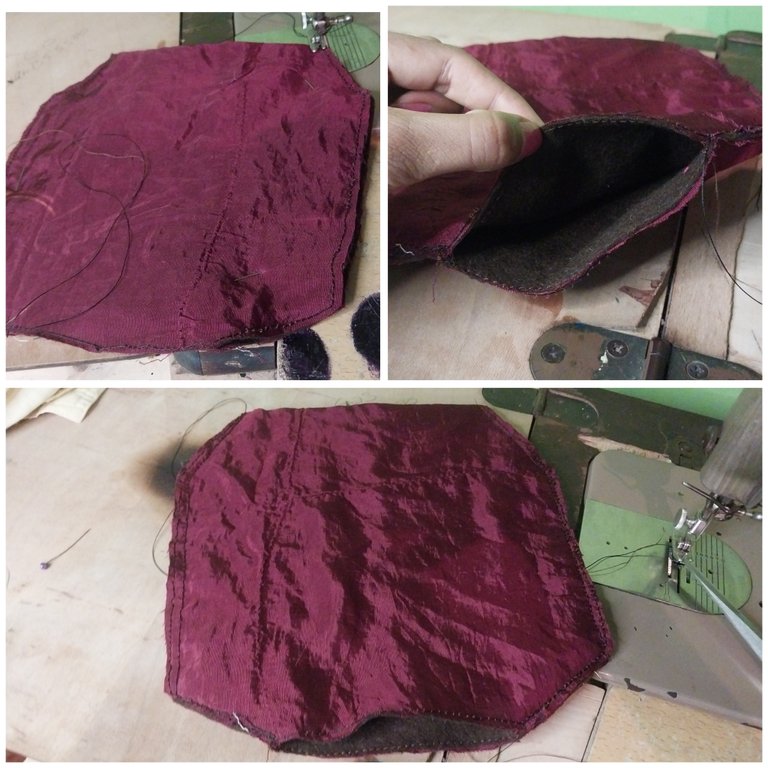
To make the bag we fold a rectangle of Felt of the desired size and that is proportional to the face of our monkey.
Then we sew this and if we want we use a fabric to reinforce the Felt fabric and place this as the background of our bag.
5
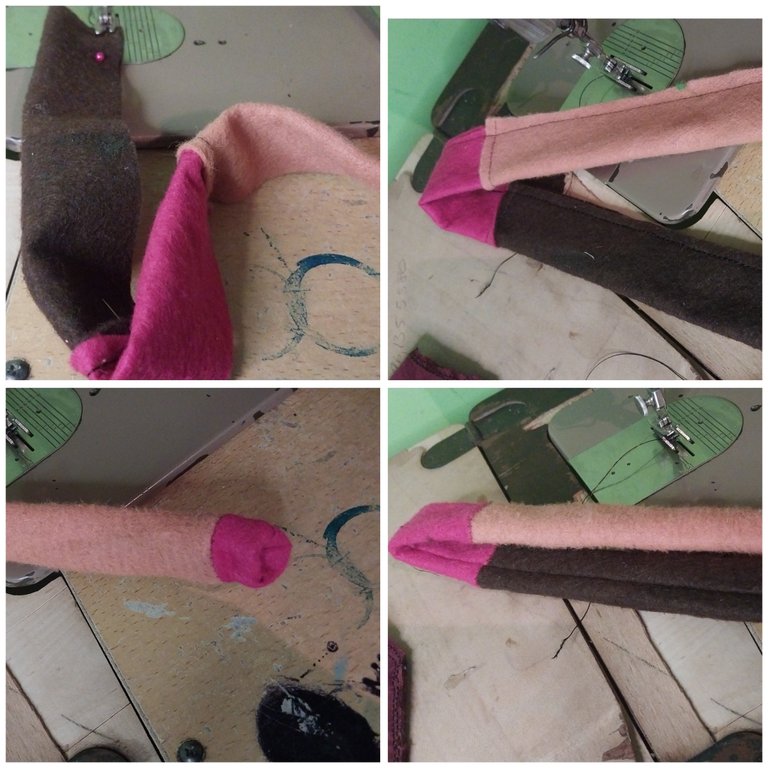
To make the straps I used a Felt ribbon and to create it I cut out orange, brown and fuchsia colored Felt. Sew the ends together and then fold it in half lengthwise to sew it.
Then place it on the reverse side.
6
Two strings are made and sewn to the bag. And then turn the bag inside out.
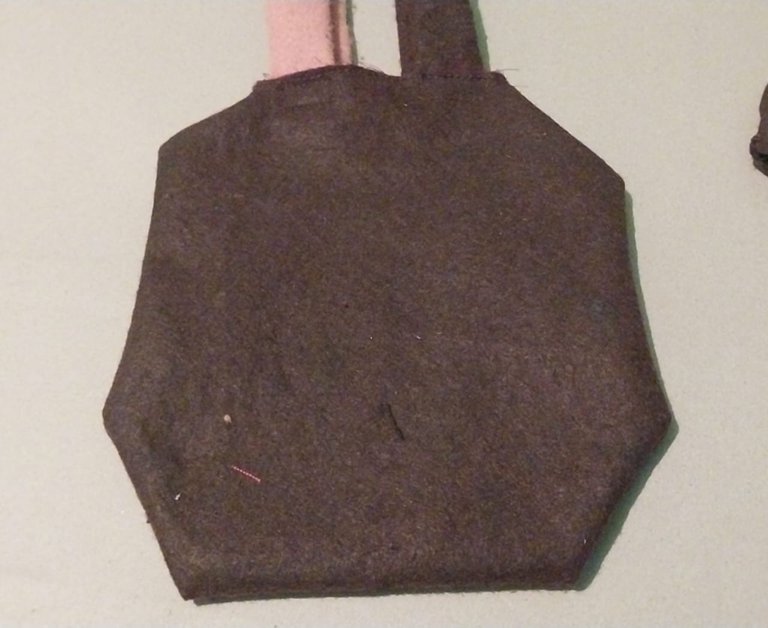
This is how our support to glue to our monkey would look like.
7
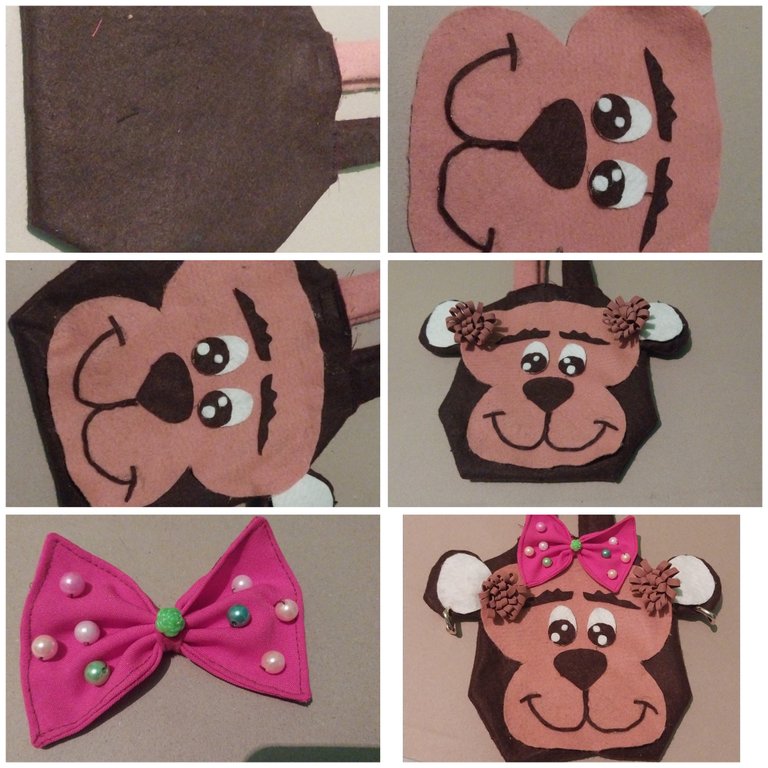
Then we glue on the face of the monkey centrally to the bag. We glued the two bows at the ends of each ear, I also made a Fuchsia bow that I decorated with pearls.
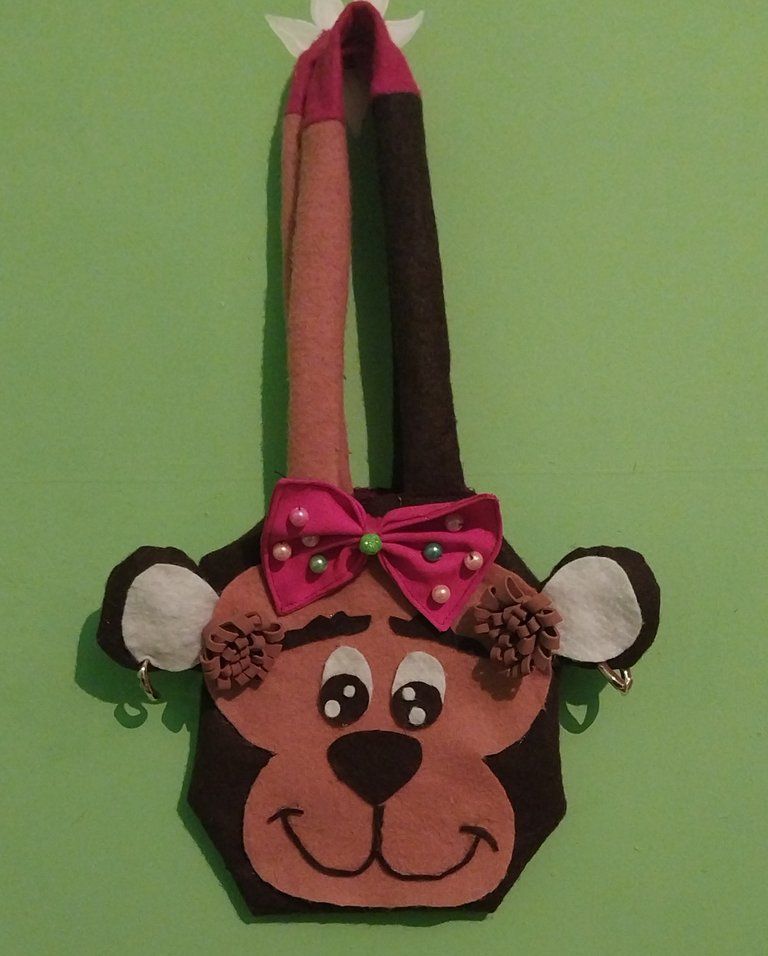
This is the final result of our Flame Monkey I hope you like it. It's a fun and cute way to give smiles to the little ones, inspired by many characters from the Splinterlands cards.
- Images belong to me
- Translator: Deepl Traslator
- Editing: Canva
Que tal amigos de Hive? Espero se encuentren bien amigos. Esta semana @Splinterlands ofrece la oportunidad de participar en el concurso #297
En estanoportunidad he realizado un bolso para mi sobrina inspirado en una de las cartas de Splinterlands. Nuestro querido Flame Monkey
Materiales
🙉- Fieltro marrón
🙉- Fieltro marrón claro, color piel o naranja.
🙉- Fieltro Marron
🙉- Pistola de Silicon
🙉- Hilo de coser
🙉- Foami
Opcional
🙉- Tela Fucsia
🙉- Perlas
🙉- argollas
Paso a Paso
1
Iniciamos realizando la forma de la cara de nuestro mono. He realizado primero un molde en cartulina y luego marcó ete sobre la tela y recorto con la tijera.
2
También sobre una cartulina dibujamos la nariz y las orejas.
Luego pasamos estos moldes al Fieltro marrón y recortamos.
Para hacer las orejas necesitamos hacer 4 caras y también necesitamos dos redondos un poco más pequeños que la oreja de color blanco.
3
Para hacer los ojos marcamos y recortamos un ovalo en Fieltro blanco, un circulo en Fieltro marrón y dos círculos más pequeños. Y de esta manera formamos los ojos.
Luego pegamos dos cejas en Fieltro marrón y la nariz, también hacemos la forma de la boca utilizando tiras de filtro y pegamos todo esto con silicon.
4
Para hacer el bolso doblamos un rectángulo de Fieltro del tamaño deseado y que sea proporcional a la cara de nuestro mono.
Luego cosemos este y si queremos utilizamos una tela para reforzar la tela de Fieltro y colocar este como fondo de nuestro bolso.
5
Para hacer los tirantes utilize una cinta de Fieltro y para crearla recorte Fieltro de color naranja, marrón y Fucsia. Se cosé sus extremos y luego se dobla a lo largo a la mitad para coser esta.
Seguidamente se debe colocar del lado revés.
6
Se hacen dos cuerdas y se cosen al bolso. Y luego se debe voltear del lado revés el bolso.
Así quedaría nuestro soporte para pegar a nuestro mono
7
Luego pegamos sobre la cara del mono de forma central al bolso. Pegamos los dos lazos en sus extremos justamente en cada oreja, también hice un lazo Fucsia que he decorado con perlas.
Este es el resultado final de nuestro Flame Monkey Espero que les guste. Es una forma divertida y bonita de poder regalar sonrisas a los más pequeños inspirandonos en muchos personajes de las cartas de Splinterlands.
🐒🦧🙉
- Images belong to me
- Translator: Deepl Traslator
- Editing: Canva
It looks very cool and fun idea 😋🌺👌👌👌 and it is fell maid.
Thanks ❤️❤️
Quedó muy bonito. Seguramente que tu sobrina saltó de alegría. Se ve una monita divertida. Saludos 🌺🌷🌹💐🌻🌷
Jefe, muchas gracias amiga. 😘
This is so beautiful, I love your creativity and it came out really nice.
Thank you my friend
muy bonito, un trabajo genial se ve la dedicación!
very nice, great job, you can see the dedication!
Muchas gracias amiga. Si me llevó un tiempo de dedicación, pero valió la pena. Saludos
Quedó muy lindo esta cartera de monitores amiga.