Sea Genie - Social Media Challenge
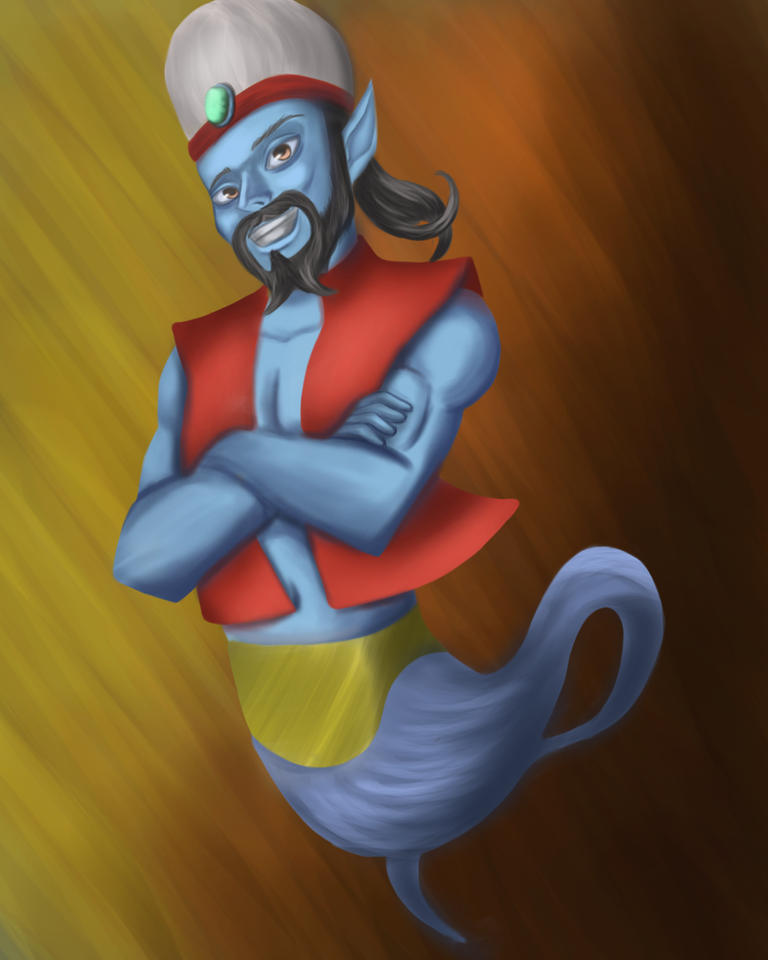
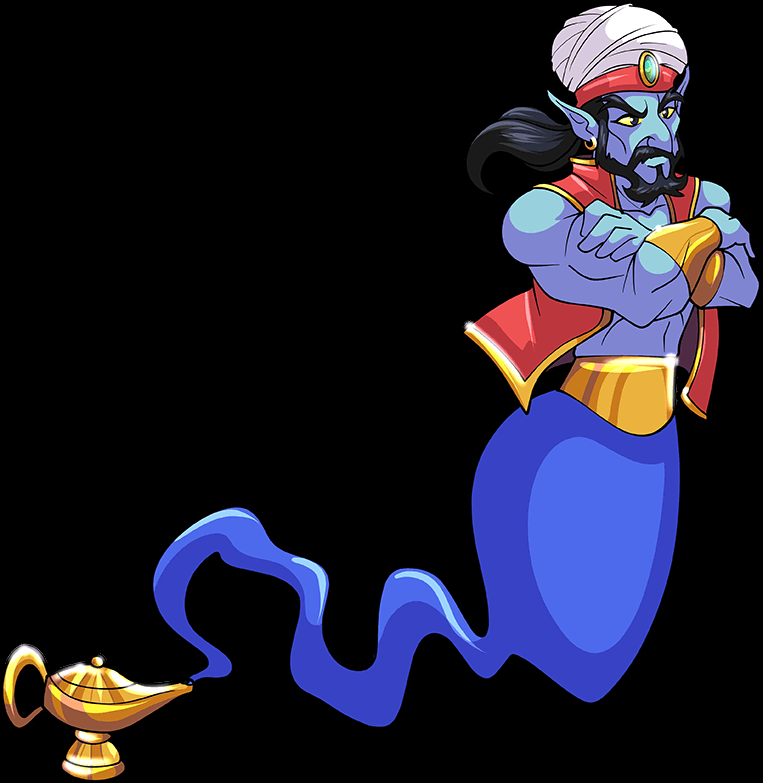
Hello to all the Splinterlands community, this time I want to show you a drawing I made of Sea Geniu, this is a water splinter card, Reward type.
In the elaboration of this drawing, I looked for several references to make this character keeping the main characteristics of this genie, so I elaborated several sketches, in the following text I am going to show you the lore of this card which is the following:
Hola a toda la comunidad de Splinterlands, en esta ocasión les quiero enseñar un dibujo que hice de de Sea Geniu, esta es una carta del splinter de agua, de tipo de Reward.
En la elaboración de este dibujo, busque varias referencias para hacer a este personaje manteniendo las características principales de este genio, así que elabore varios bocetos, en el siguiente texto les voy el lore de esta cartas que es la siguiente:
The Sea Genie simply waits quietly in his dark, deep lair at the foot of Maka Peak. He is the only resident of the Cave of Mysteries, a powerhouse of magical force. The Genie was first summoned hundreds of years ago, and now he is prisoner to the ΛZMΛRÉ summoners, doing only their bidding and little else
El Genio del Mar simplemente espera en silencio en su oscura y profunda guarida al pie del Pico Maka. Es el único residente de la Cueva de los Misterios, un centro neurálgico de fuerza mágica. El Genio fue invocado por primera vez hace cientos de años, y ahora es prisionero de los invocadores de ΛZMΛRÉ, cumpliendo sus órdenes y poco más...
Process
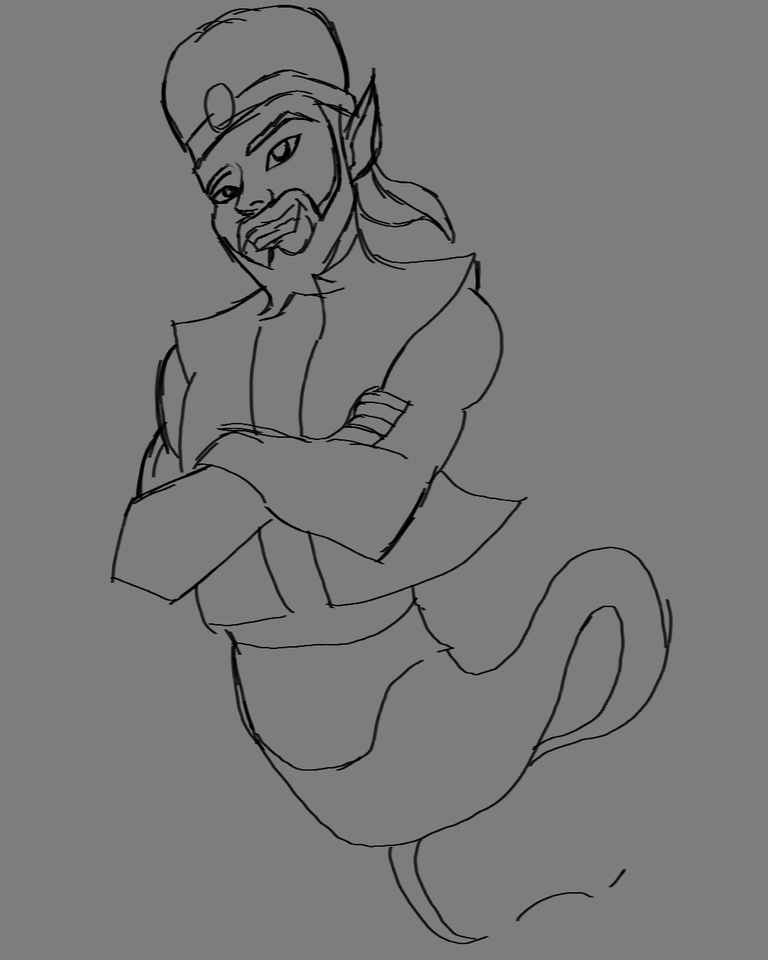
As I mentioned at the beginning, I made several sketches until I got a pose that I liked and from there I made several guide lines and continued with the following steps.
Como mencione al principio, hice varios bocetos hasta que conseguí una pose que me gustara y a partir de hay le fui haciendo varias lineas guías y seguir con los siguientes pasos.
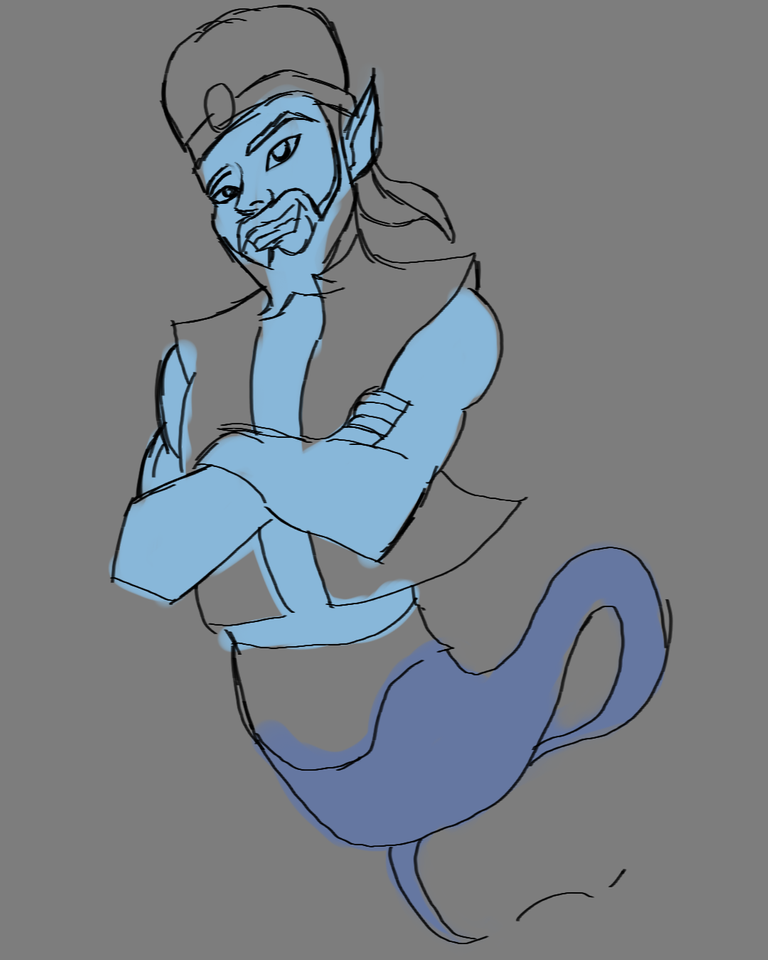
From this moment on I added color to each of the elements starting with the skin using a blue color equal to that of the reference, then I continued with the clothing using red and more details.
A partir de este momento le fui agregando color a cada uno de los elementos comenzando por la piel utilizando un color azul igual al de la referencia después seguí con la vestimenta usando el color rojo y de mas detalles.
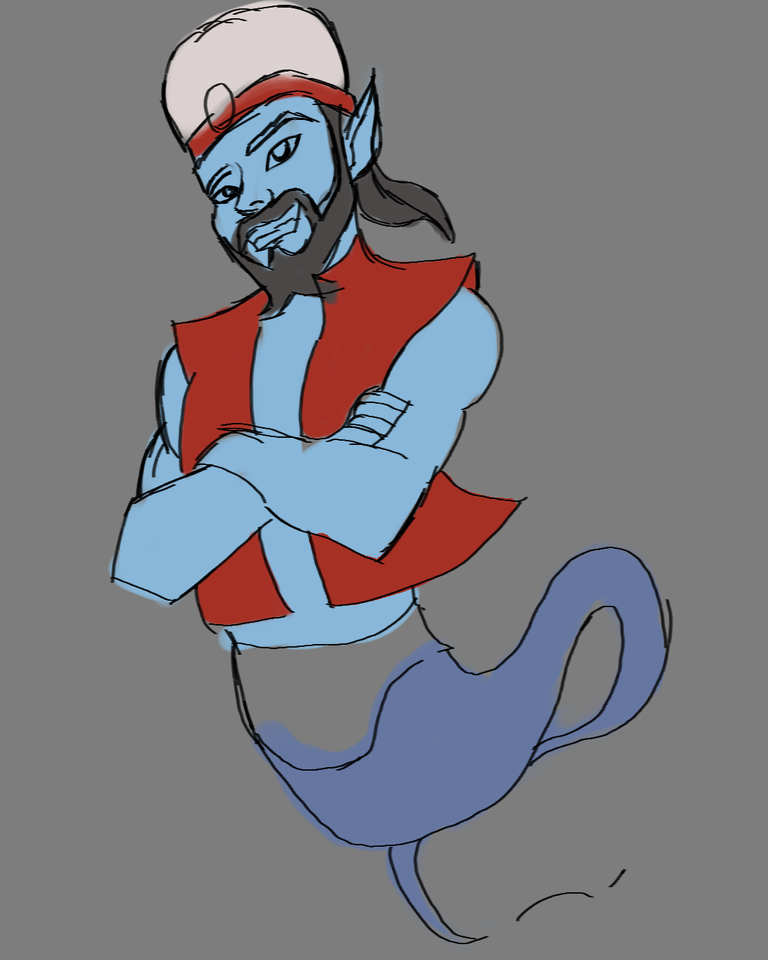
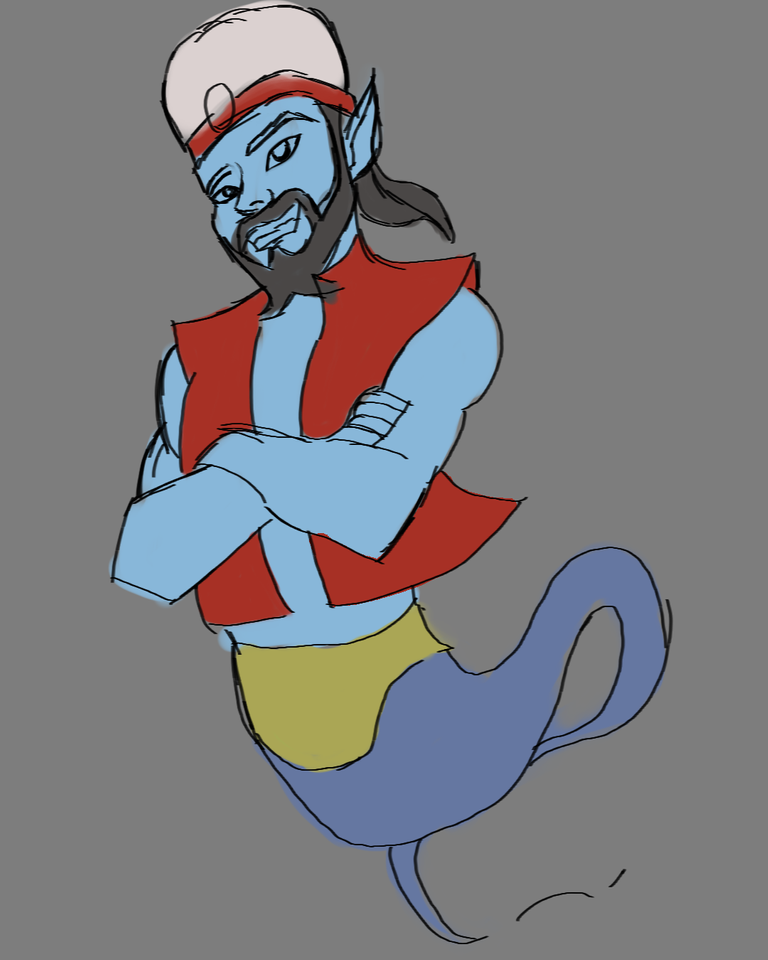
In this stage I improved the edges of the drawing and then I started with the rendering of the character adding the necessary shadows to the character until I got the desired volume.
En esta etapa fui mejorando los bordes del dibujo para luego comenzar con el renderizado del personaje agregando las sombras necesarias al personaje hasta conseguir el volumen deseado.
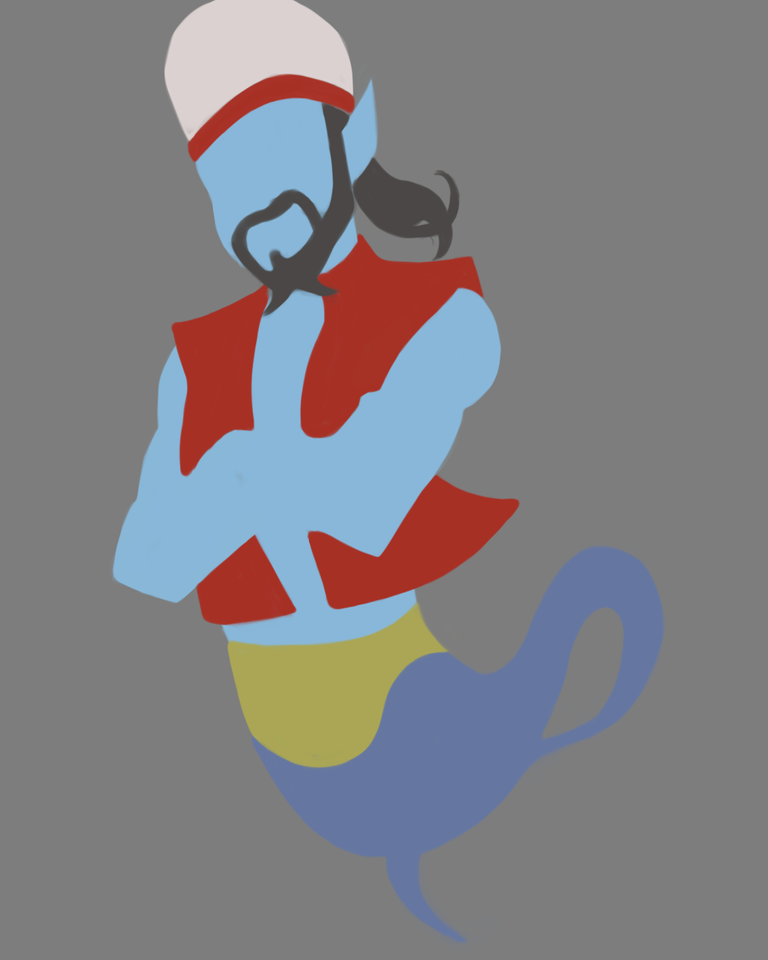
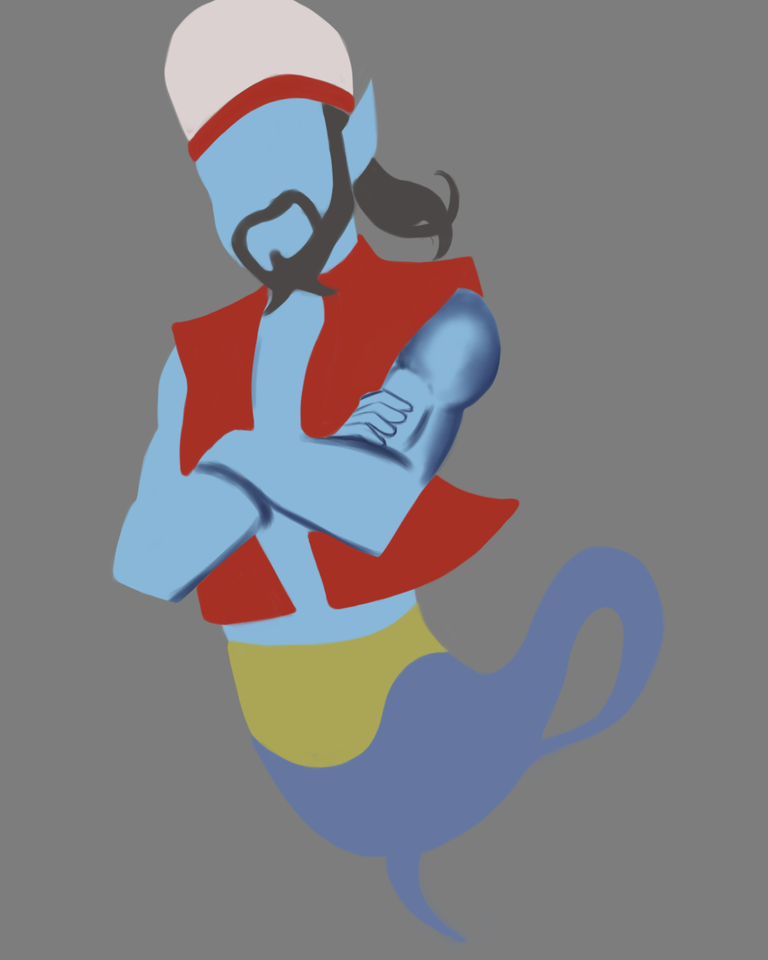
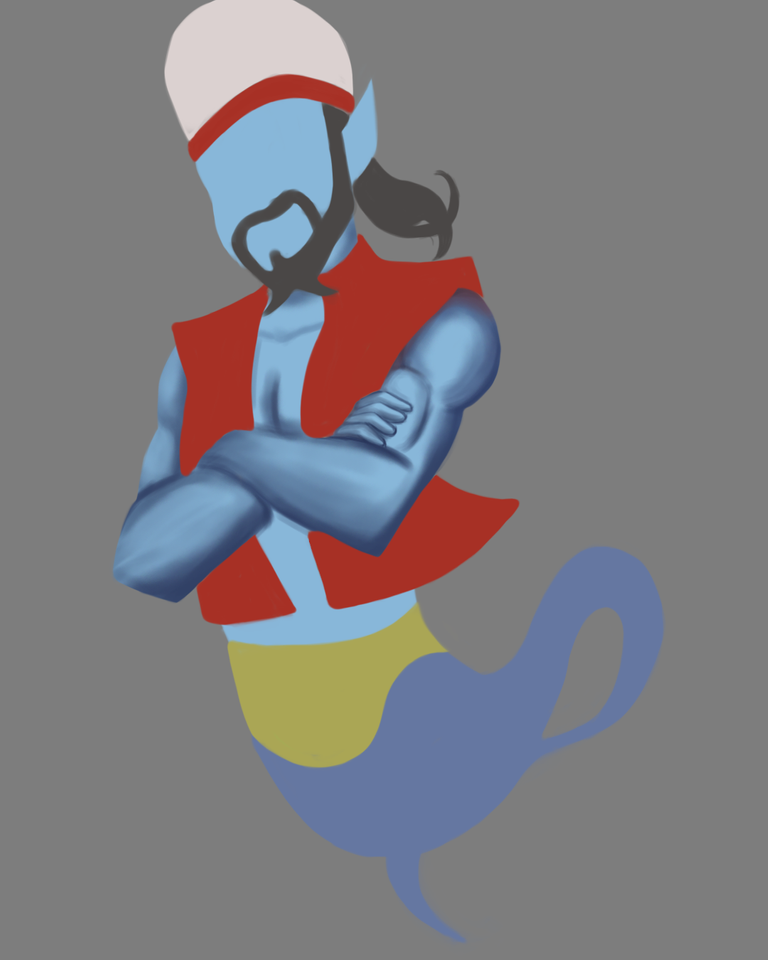
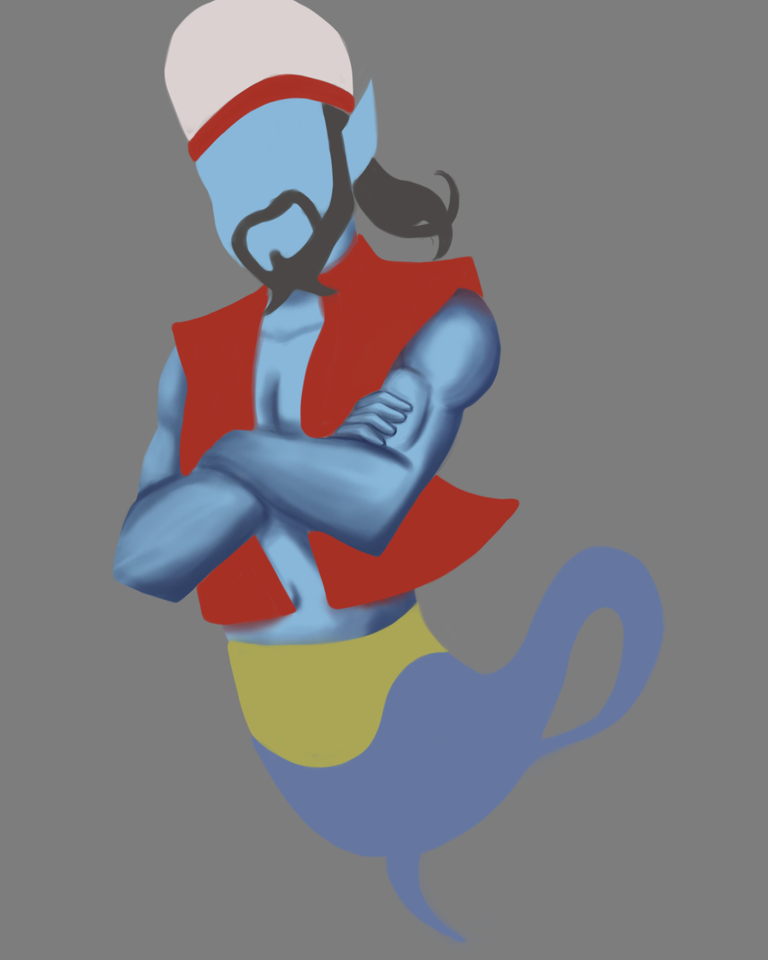
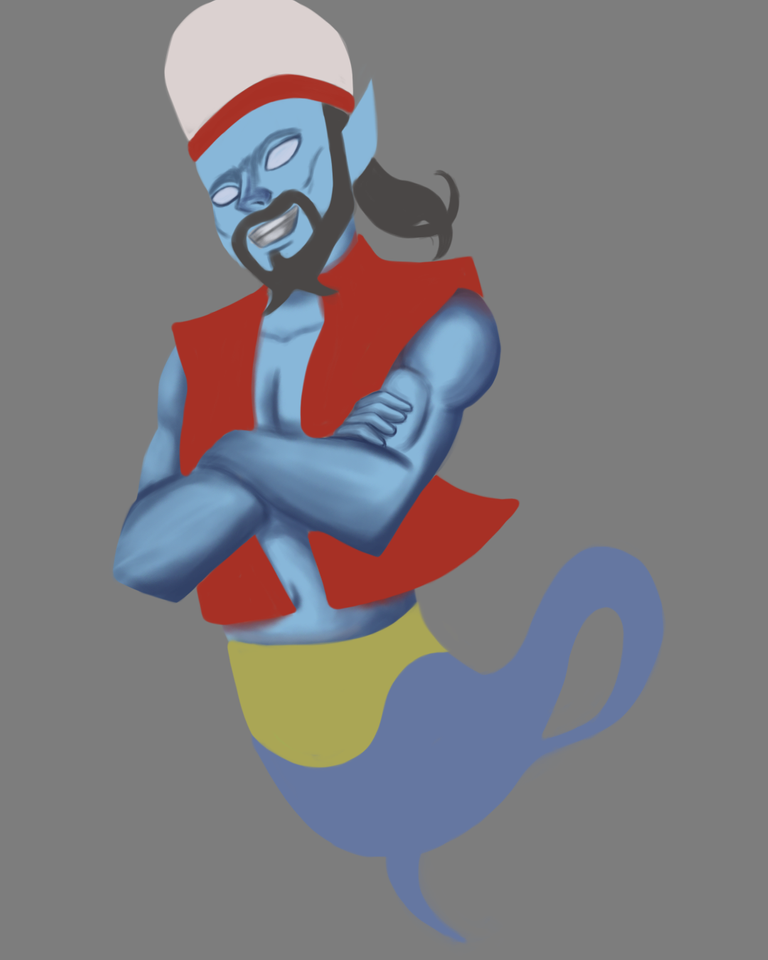
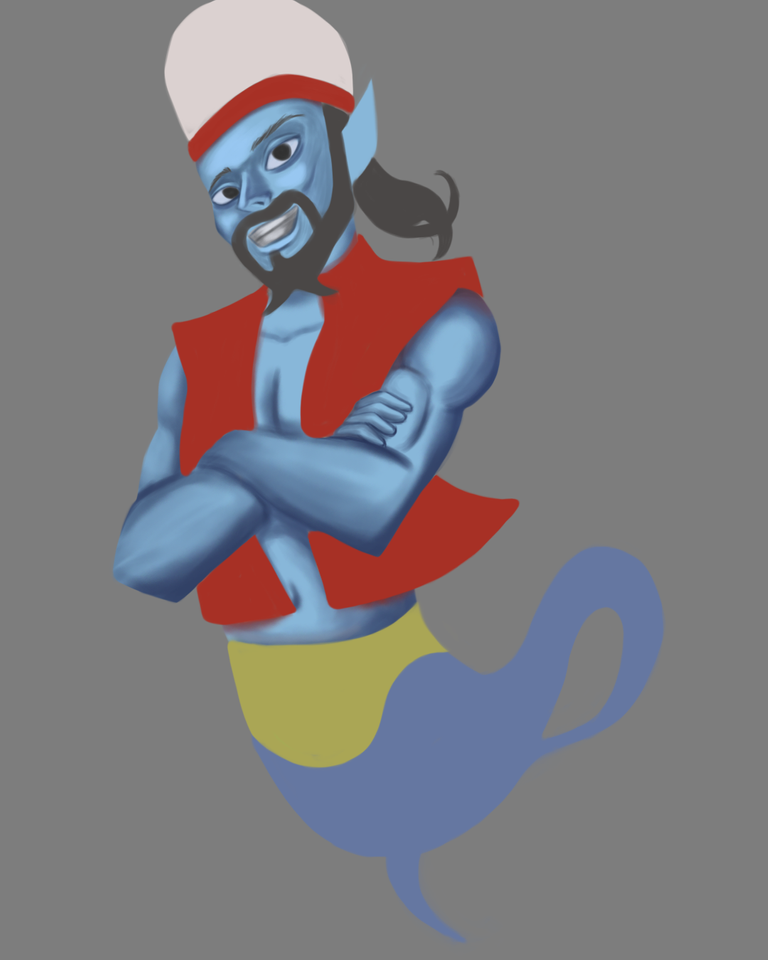
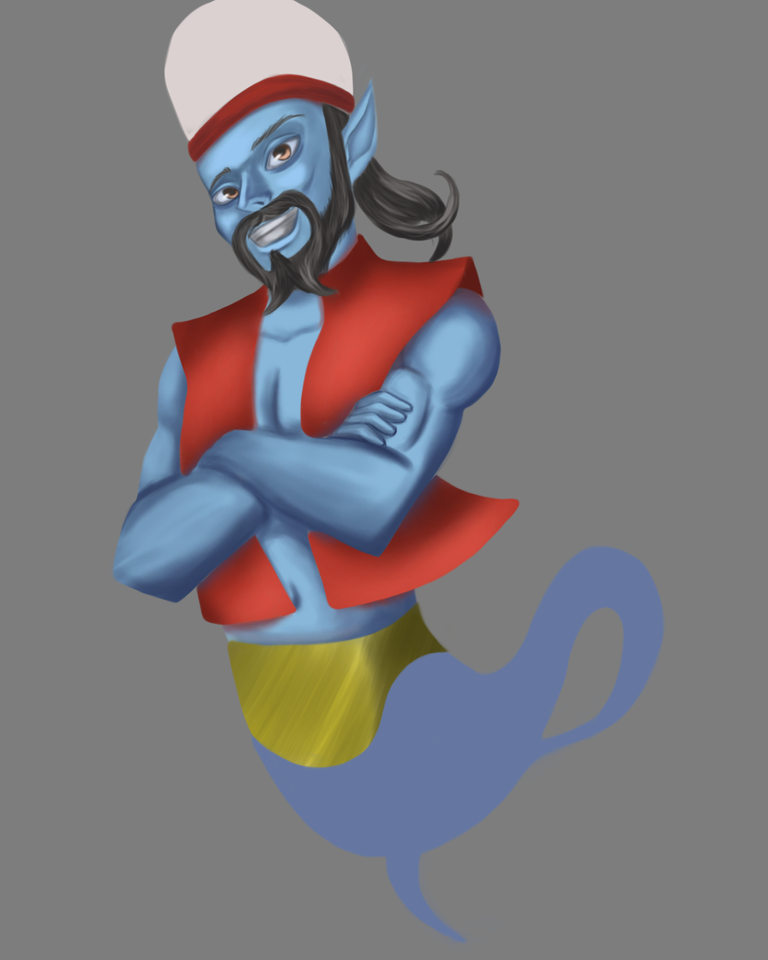
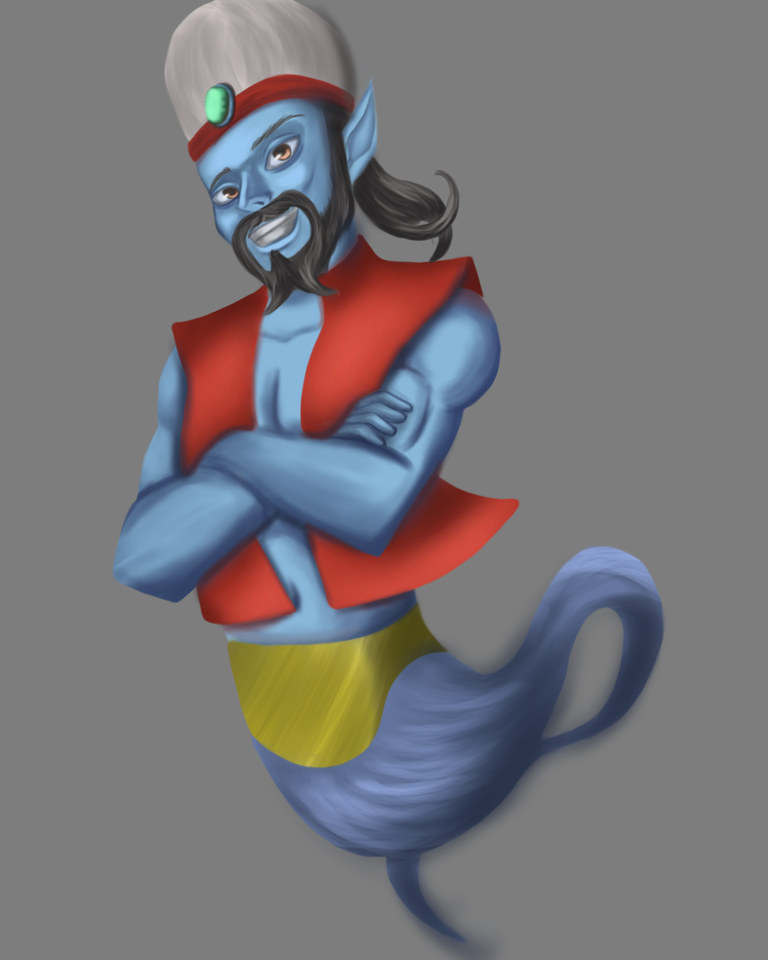
For the last step I made the background to the illustration, using a warm tone to the drawing and trying the different colors until I got the right one.
Para el ultimo paso le hice el fondo a la ilustración, utilizando tono cálido al dibujo he ir probando los distintos colores hasta conseguir el adecuado.
- Thanks for reading and I hope you like it.
- Gracias por leerme y espero que les guste.
- Tablet Huoion H640P
- Photoshop
Thank you very much!!
Thanks for sharing! - @alokkumar121

Thank you so much to the support!!
Genial mi pana! me gusta mucho el efecto que consigues sin el uso de lineas mucha suerte esta semana :"3
!PIZZA
Muchas gracias amigo, si estoy probando varias técnicas en el dibujo digital
$PIZZA slices delivered:
@sephiwolf(2/5) tipped @jasonmyers13